一、什么是Observium?
Observium 是一个自动发现的基于 SNMP 的网络监控平台,用 PHP 编写,支持广泛的网络硬件和操作系统,包括 Cisco、Windows、Linux、HP、Dell、FreeBSD、Juniper、Brocade、Netscaler、NetApp 等等。
Observium 有多个版本,免费版、专业版和企业版,对于个人用户,Observium 免费版足以监控您的网络设备。
Observium 还提供直观的用户界面,让您轻松获取网络设备的状态,并且还提供与第三方应用程序的外部集成,允许您创建自定义模块来从您的应用程序收集和报告数据。
本文将教您如何在Linux中安装Observium,我们会以Ubuntu 20.04系统为例。
二、安装Observium
2.1 更新apt包
apt update -y2.2 安装 PHP 和所需模块
apt -y install wget apache2 php php7.4-{pear,cgi,common,curl,mbstring,gd,mysql,bcmath,imap,json,xml,snmp,fpm,zip}2.3 启动apache
systemctl start apache2
systemctl enable apache2
2.4 安装、配置MariaDB
安装MariaDB
apt -y install mariadb-server mariadb-client配置MariaDB
运行以下命令以 MariaDB root 用户身份登录 MariaDB shell:
sudo mysql -u root -p为 Observium 创建数据库和用户:
create database observium;
grant all privileges on observium.* to observium@localhost IDENTIFIED by "qwer@123.Com";
flush privileges;
quit
重启MariaDB
systemctl restart mariadb2.5 设置 PHP
要安装 Observium,必须进行 PHP 配置,PHP 配置文件为“php.ini”文件。
vim /etc/php/7.4/apache2/php.ini取消注释以下配置,并确保使用类似这样 的内容更改“ error_reporting ”选项:
file_uploads = On
default_charset = UTF-8
error_reporting = E_ALL & ~E_NOTICE
date.timezone = Europe/London
在“ [opcache] ”选项上,更改以下设置,这将启用 PHP opcache 扩展并添加一些配置以获得最大性能:
[opcache]
opcache.enable=1
opcache.enable_cli=1
opcache.interned_strings_buffer=8
opcache.max_accelerated_files=10000
opcache.memory_consumption=128
opcache.save_comments=1
opcache.revalidate_freq=1
完成后保存文件并退出编辑器。
重启Apache2 服务:
systemctl restart apache2为确保 Apache2 和 PHP 正常工作,需要创建一个新的 PHPINFO 文件,运行以下命令创建一个新的 PHPINFO 文件“ /var/www/html/info.php ”:
echo '<?php phpinfo(); ?>' | tee /var/www/html/info.php访问服务器的地址:
192.168.3.22/info.php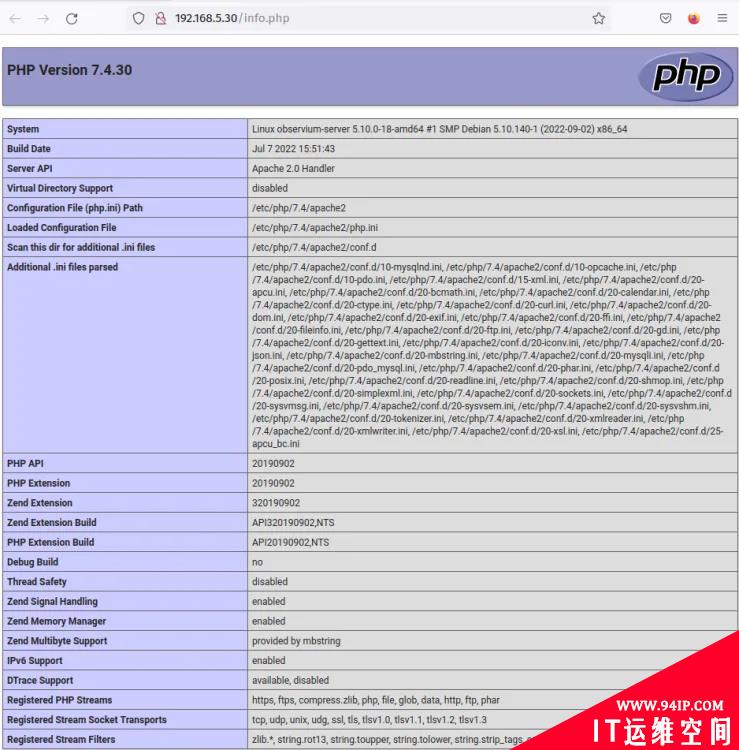
至此MariaDB 数据库和 PHP就安装好了,下面就开始安装Observium。
2.6 下载Observium
我们会在/opt目录下进行下载:
wget http://www.observium.org/observium-community-latest.tar.gz然后解压:
tar xvf observium-community-latest.tar.gz现在 Observium 源将在“/opt/observium”目录中可用,该目录将是 Obserevium 监控工具的目标安装目录。
接下来,创建将用于存储日志和 rrd 文件的新的附加目录,然后,将新目录的所有权更改为用户和组“www-data”。
mkdir -p /opt/observium/{logs,rrd}
sudo chown -R www-data:www-data /opt/observium/{logs,rrd}
创建附加目录后,移动到 Observium 安装目录“ /opt/observium ”。
cd /opt/observium将 Observium 默认配置“ config.php.default”复制到“ config.php”。然后,通过以下 nano 编辑器 编辑新文件“ config.php ”。
cp config.php.default config.php
nano config.php
使用您的数据库详细信息更改默认数据库设置。
$config['db_extension'] = 'mysqli';
$config['db_host'] = 'localhost';
$config['db_user'] = 'observium';
$config['db_pass'] = 'p4ssw0rd';
$config['db_name'] = 'observium';
完成后保存文件并退出编辑器。
接下来,运行脚本“ discovery.php ”来更新数据库并导入 Observium 安装的数据库模式。
./discovery.php -u导入 Observium 数据库模式后,运行脚本“ adduser.php ”为 Observium 设置管理员用户。
创建一个新用户“ admin ”,密码为“ qwer@123.Com ”,角色为“ 10 ”,这是 Observium 上的最高角色管理员。
./adduser.php admin qwer@123.Com 102.7 配置Apache
首先打开observium的配置文件:
/etc/apache2/sites-available/observium.conf将以下配置添加到文件中,并确保更改域名,本文使用本地域 obs.test.io。
<VirtualHost *:80>
    ServerAdmin webmaster@localhost
    ServerName obs.test.io
    DocumentRoot /opt/observium/html
    <FilesMatch \.php$>
      SetHandler application/x-httpd-php
    </FilesMatch>
    <Directory />
            Options FollowSymLinks
            AllowOverride None
    </Directory>
    <Directory /opt/observium/html/>
            DirectoryIndex index.php
            Options Indexes FollowSymLinks MultiViews
            AllowOverride All
            Require all granted
    </Directory>
    ErrorLog  ${APACHE_LOG_DIR}/error.log
    LogLevel warn
    CustomLog  ${APACHE_LOG_DIR}/access.log combined
    ServerSignature On
</VirtualHost>
激活配置:
a2ensite observium.conf
apachectl configtest
重新启动 Apache:
systemctl restart apache2三、体验Observium
我们通过刚刚上面设置的域名的形式obs.test.io访问Observium:
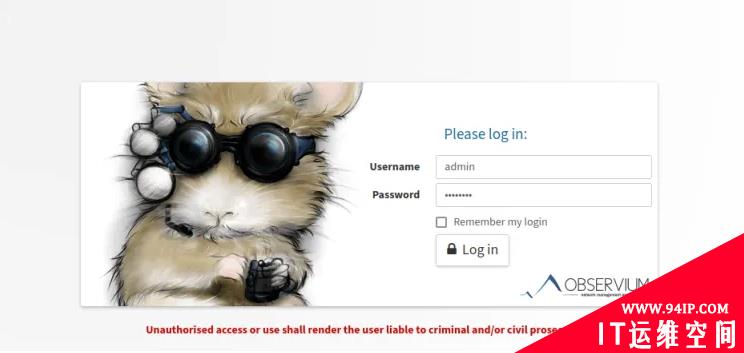
Observium控制台:
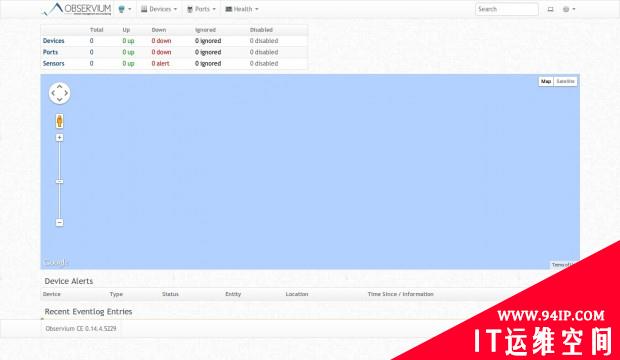
至此就完成了Observium的安装,还在等什么,赶快试试吧!








发表评论